 ドーラ
ドーラこちらはWordpressで記事を投稿する手順書です。
テーマは【Swell】を使っていますのでSwellを使用して記事を投稿する際の手順書になります。
記事の新規作成
文章を作成する基本の流れになります。
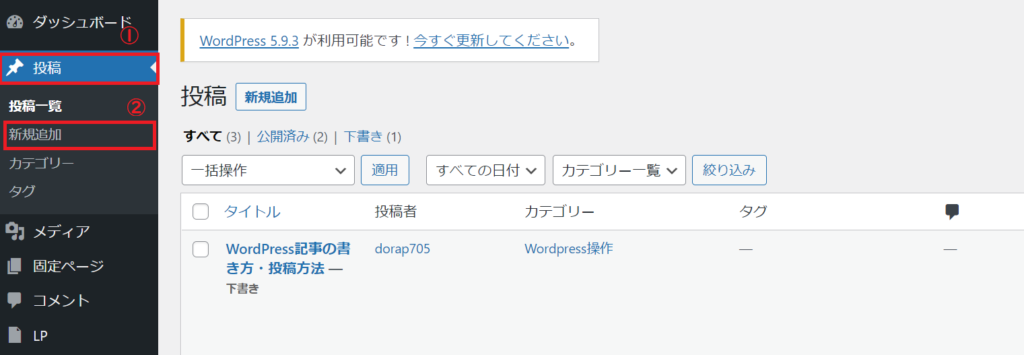
WordPressの管理画面から[投稿]-[新規追加]をクリックします。
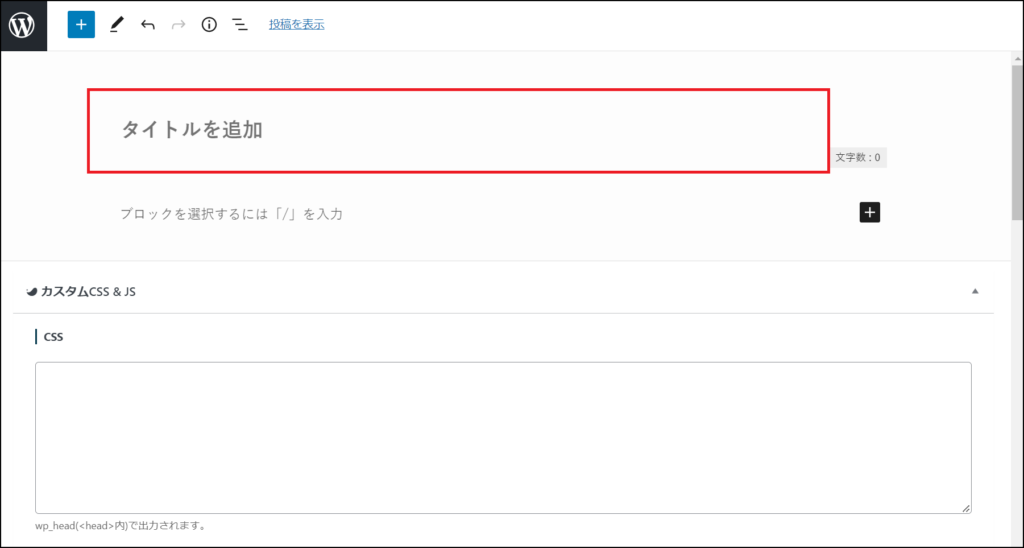
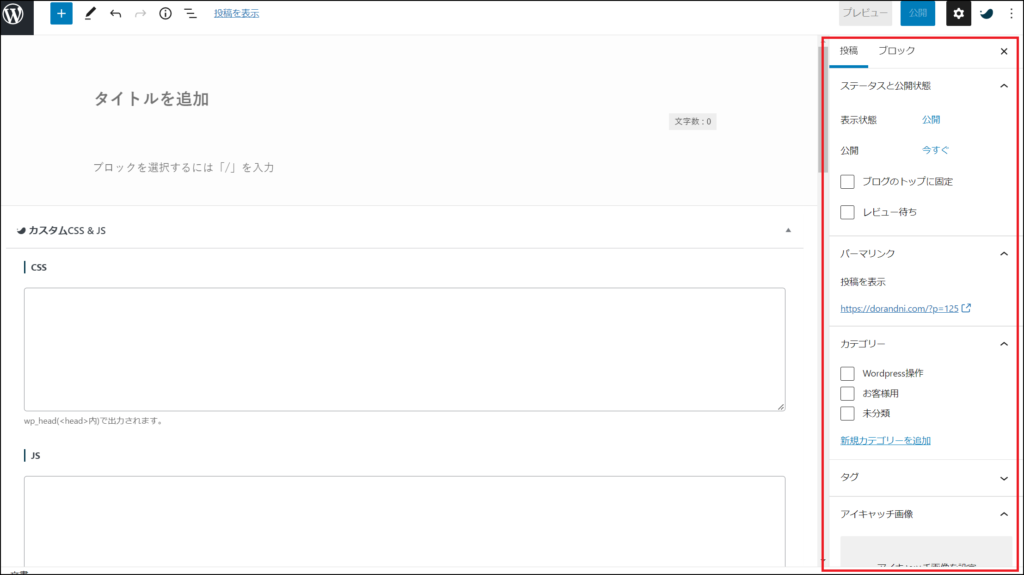
画面が開きます。「タイトルを追加」の部分に記事のタイトルを入力します。
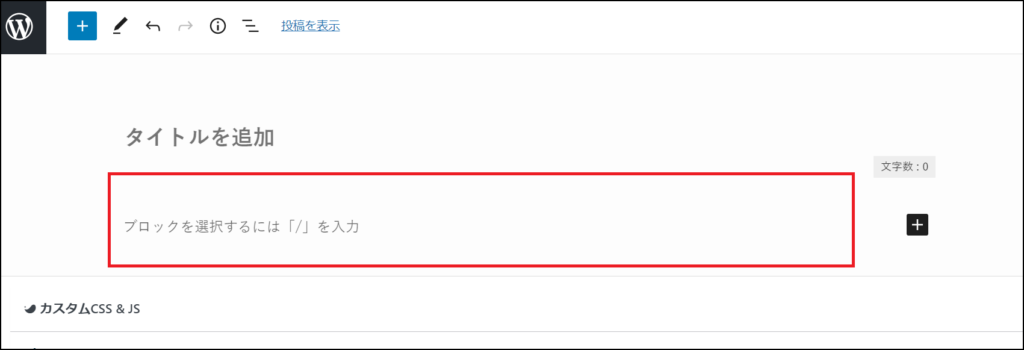
「ブロックを選択するには「/」を入力」の部分に文章を入力します。
画面の左側(赤枠の部分)を設置していきます。
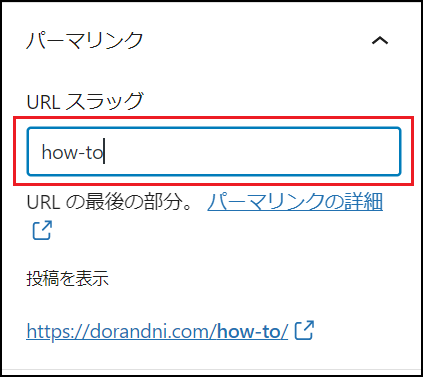
記事のURLとなるパーマリンクを設定します。
「URLスラッグ」欄を入力してください。
日本語は文字化けするので、英語での設定をおススメしています。
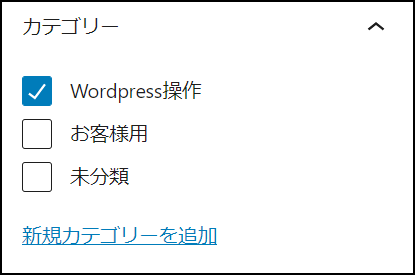
カテゴリーにチェックを入れます。
カテゴリーがない場合は「新規カテゴリーを追加」から追加できます。
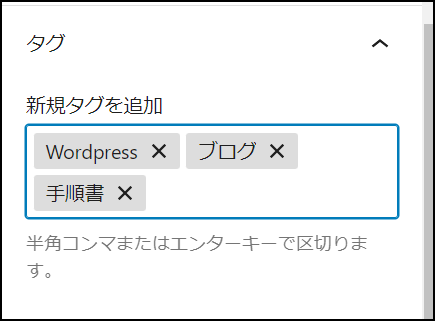
記事の中に出てくる重要なキーワードをタグに設定します。
書き方は、文字を入力し「ENTER」キーで設定できます。
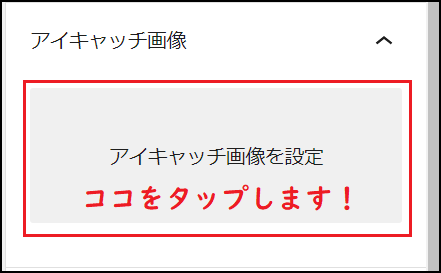
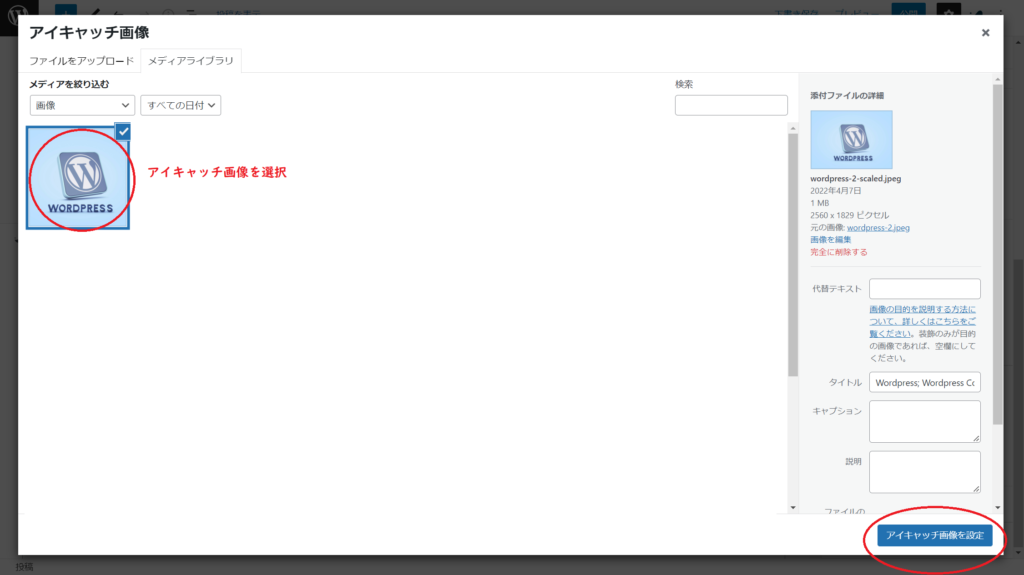
①アイキャッチ画像を設定する場合、
「アイキャッチ画像を設定」欄をクリックします。
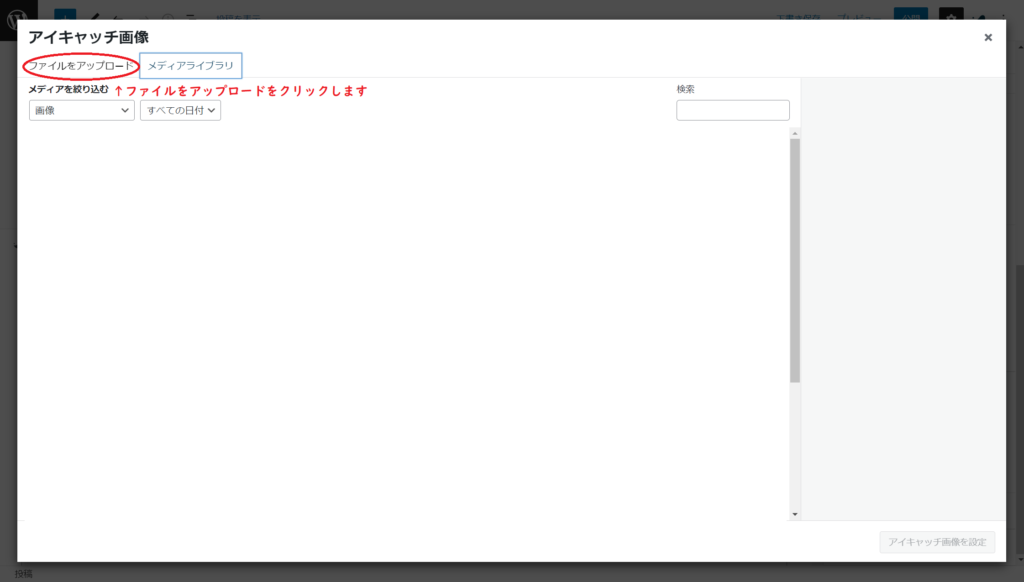
②「ファイルをアップロード」タブをクリックします。
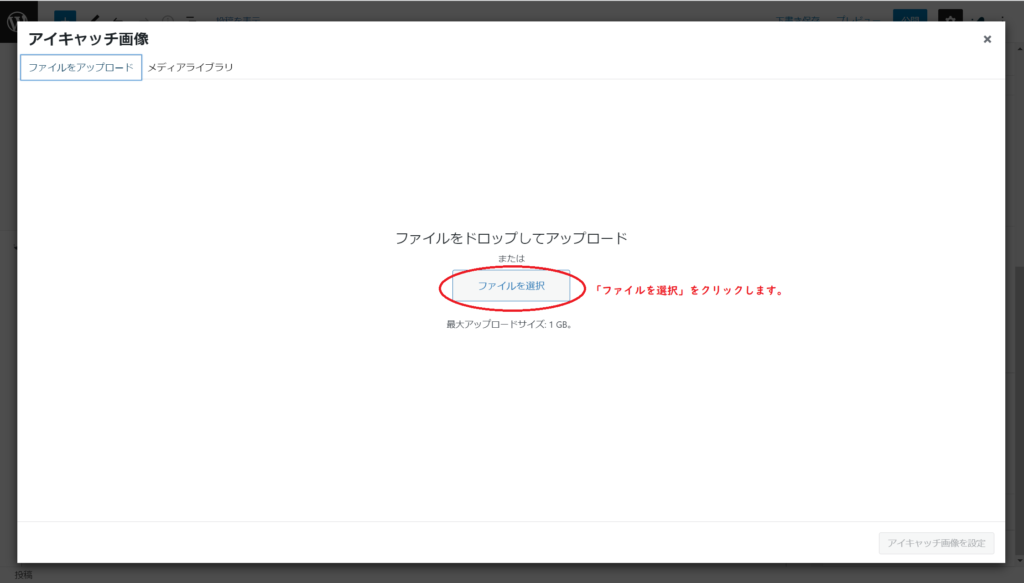
③「ファイルを選択」ボタンをクリックします。
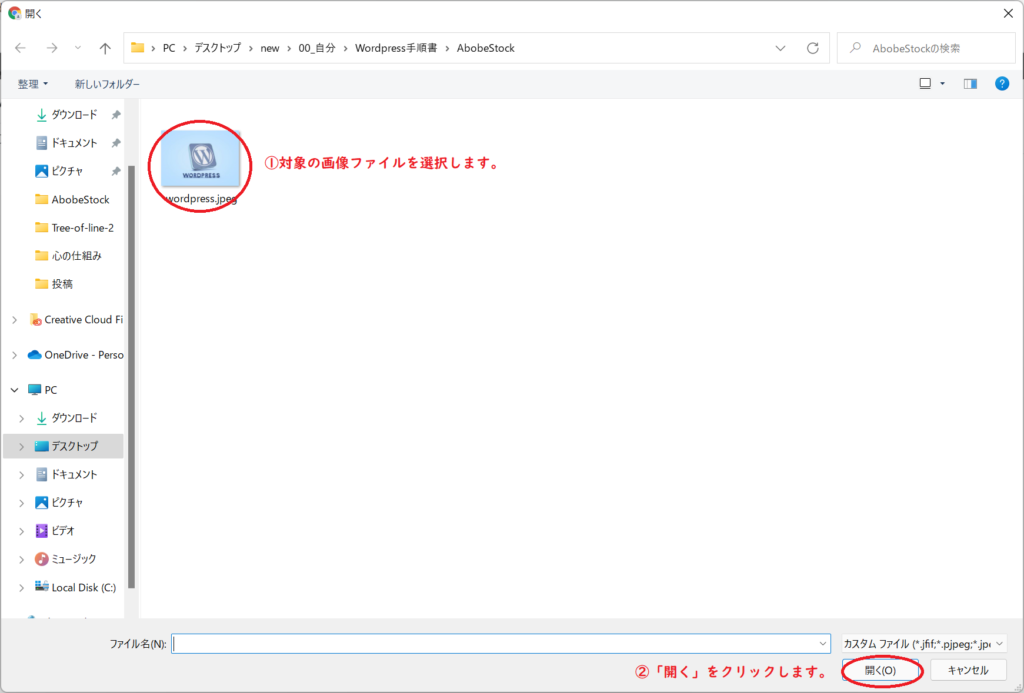
④アイキャッチ画像に設定する画像を選択し、「開く」ボタンをクリックします。
⑤アイキャッチ画像を選択して、「アイキャッチ画像を設定」をクリックします。
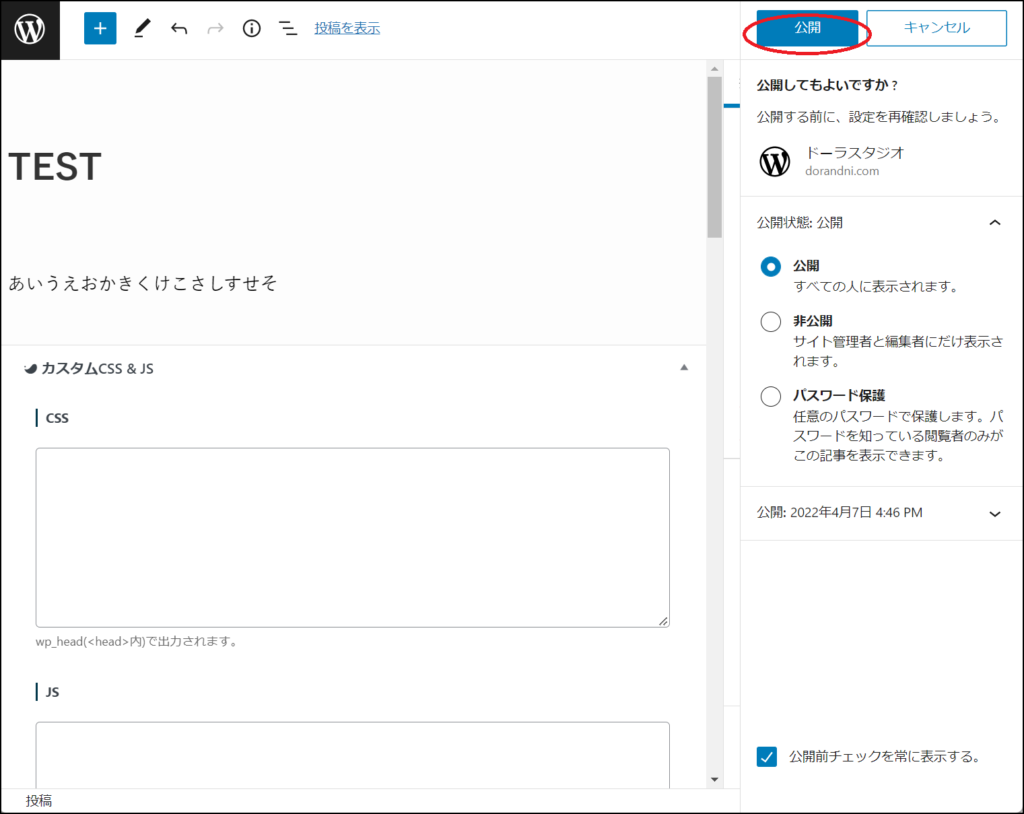
「公開」ボタンをクリックします。

「公開」ボタンをクリックします。
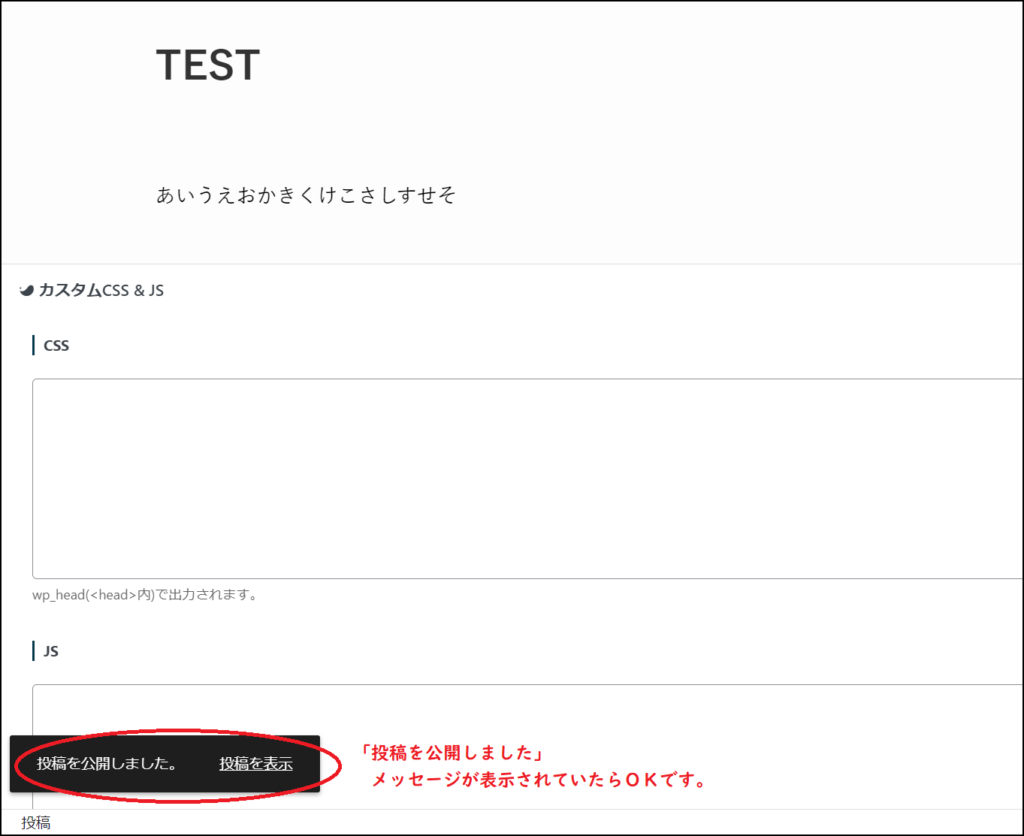
左下画面に「投稿を公開しました」のメッセージが表示されたら完了です。
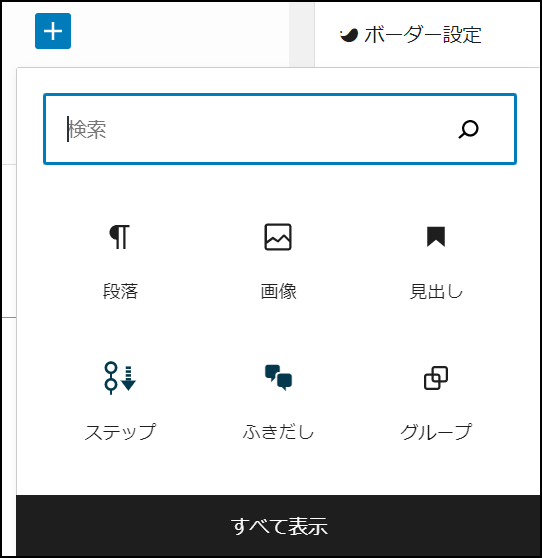
基本的な操作(ブロックの追加)
ドーラブロックの追加をすることで文章を書いたり画像を追加したりすることが可能です。
黒の「+」部分をクリックします。

追加したいブロックを選択します。
使用したいブロックがない場合、「すべて表示」をクリックで表示することが可能です。
記事を装飾する方法
ブロックツールバーの説明
文字を入力すると上に表示されるバーをブロックツールバーと言います。

色変更やマーカーの設定、文字の大さを変更する、太字にする背景色の変更など
文字の装飾やグロック単位の行間の設定などが行えます。
 | ブロックタイプやスタイルを変更する際に使用します。 |
 | テキストを左寄せ、中央寄せ、右寄せにします。 |
 | デバイス制限(PCのみ表示、スマホのみ表示を選択することができます) |
 | 余白量設定(ブロック下の余白量の設定が可能です) |
 | 太字(文字を太くすることができます) |
 | イタリック(文字をイタリックに変更することができます) |
 | リンク設定(文字にリンクを貼る事ができます) |
 | テキストの色を変更する際に使用します |
| 背景色の変更などの設定を行います | |
| 改行の指定などの設定を行います | |
 | マーカーの設定が出来ます |
| 文字の大きさを変更できます |
文字を装飾する
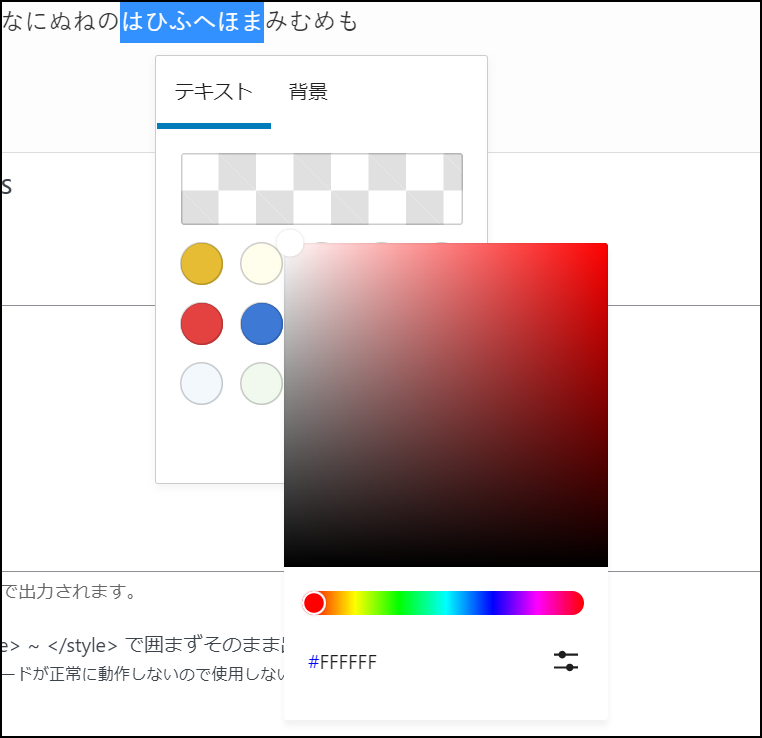
ドーラ文字の色を変更する方法です。
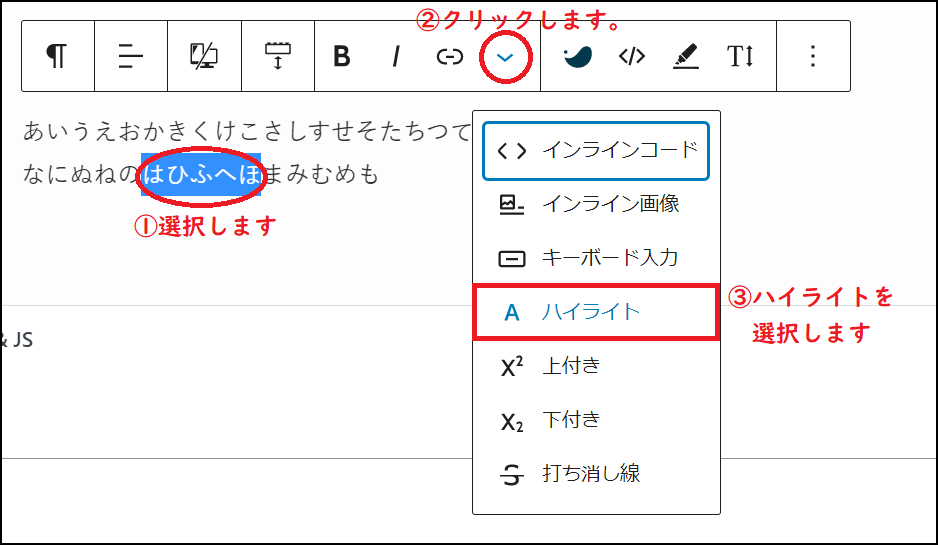
文字の色を変更したい部分を選択します。選択すると上にブロックツールバーが表示されるので
「Ⅴ」をクリックして「ハイライト」を選択します。
〇の中から色を選ぶこともできますし、色がない場合は、赤枠の部分をクリックします。

表示されたカラーパレットで色を作成し、設定します。